How to create a cRIO Virtual Machine


Just a week or two ago I stumbled upon a forum post that outlined how to create cRIO Virtual Machine. I’ve written a little bit about Virtual Machines before. Creating a virtual cRIO was pretty straightforward, but it required piecing together several responses in the thread, particularly since I use VMware instead of Virtual Box. I thought I would share my experience here.
Before I continue though, I would like to thank Neil Crossan and James McNally and everyone else who contributed to that thread. They really laid all the groundwork and made it pretty easy for me.
Why a CRIO Virtual Machine?
There are several reasons to create a cRIO Virtual machine. Sometimes you might not have access to a cRIO. Either you ordered it and it hasn’t come in yet, or you don’t have access to the network such as when working from home. Maybe you just want to try a different cRIO model that you don’t currently have access to. A virtual cRIO is super lightweight. You can just spin it up right on your development laptop, so you always have one with you.
What Would I Use It For?
A virtual cRIO is a great way to test communication code such as TCP/IP, UDP, or network streams code. You can test any webservers or file transfer protocols. You can also test databases if you are going to host one on the cRIO. You can work out any kinks with calling shared objects (the linux equivalent of dlls). It’s also great to test any shell scripts or python scripts you might run on the linux side. Another thing you can use your virtual cRIO for is testing the embedded UI. So there are lots of things that you can do with it.
What Are The Drawbacks?
The main drawback is that there is no hardware attached. So you can’t use scan engine or the DAQmx interface. You also can’t do anything with the FPGA. For DAQmx you can simply wrap it in a HAL and have a simulation class. I don’t do a lot of FPGA, but I imagine you could do something similar with FPGA code.
The other potential problem has to do with real-time determinism. The question is does the vmware hypervisor deliver real-time determinism in the guest? I don’t know for sure, but my guess is no. So you should be aware of that. It’s also worth noting that cRIOs have pretty minimal hardware and with a VM you could give the VM as many cores and as much RAM as your host machine allows. You should probably avoid that.
Creating the VM
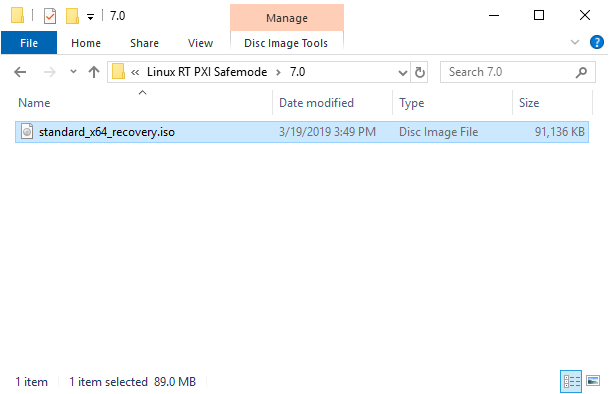
Finding An Image
To create a VM, you first need an image. Luckily LabVIEW RealTime comes with one. It is located at “C:Program Files (x86)\National InstrumentsRT Images\Utilities\Linux RT PXI Safemode”
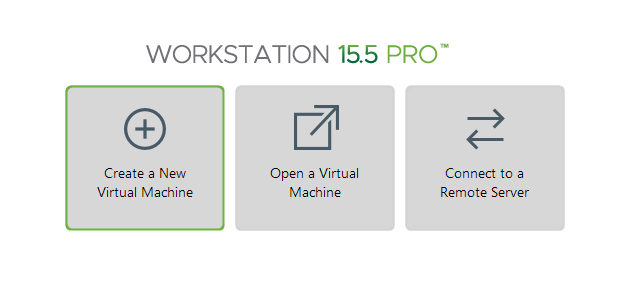
Creating The VM
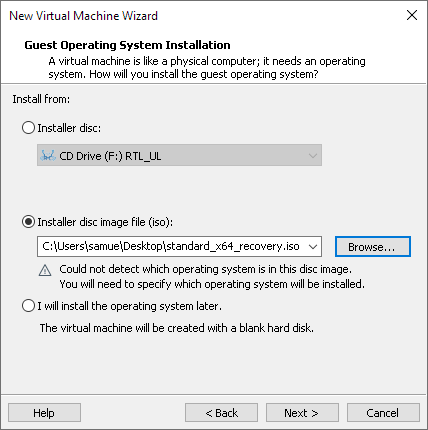
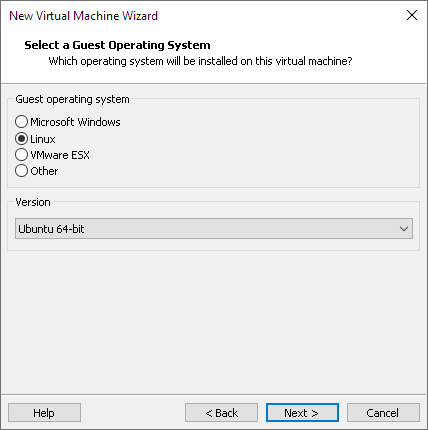
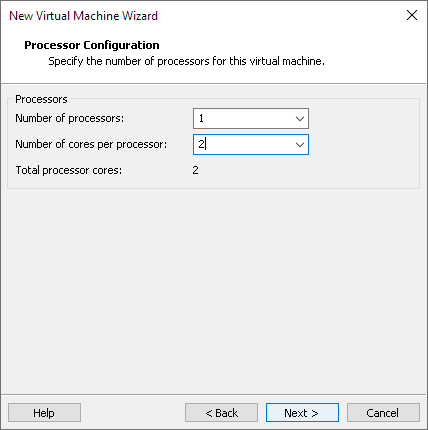
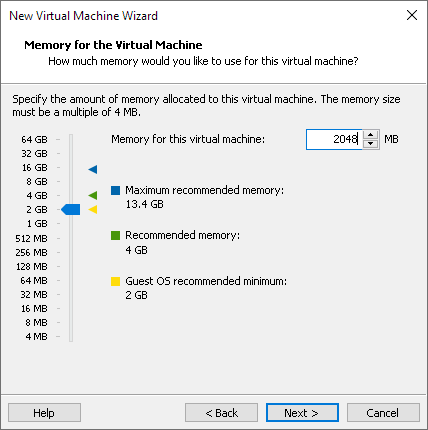
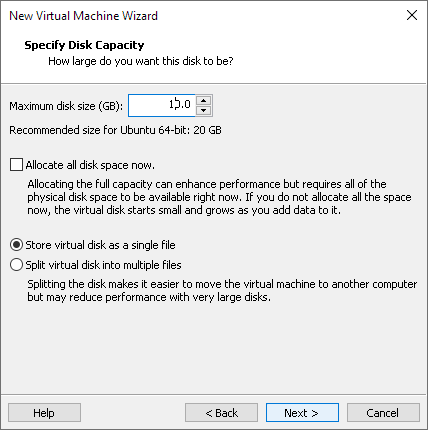
When creating the VM I used the advanced wizard. As you go through for a lot of things the defaults work fine. The gallery below has some screenshots, for the settings that really matter. First for the installer, make sure you point to the iso mentioned earlier. For OS select Linux and Ubuntu 64 bit. Select a single dual core processor with 2G of RAM. An important setting is the Harddrive. Make sure you select SATA and not SCSI (which is the default). For disk size 10G works. I usually just store it in 1 file instead of splitting it. That will get you through the Wizard. Now you have created the Virtual Machine.
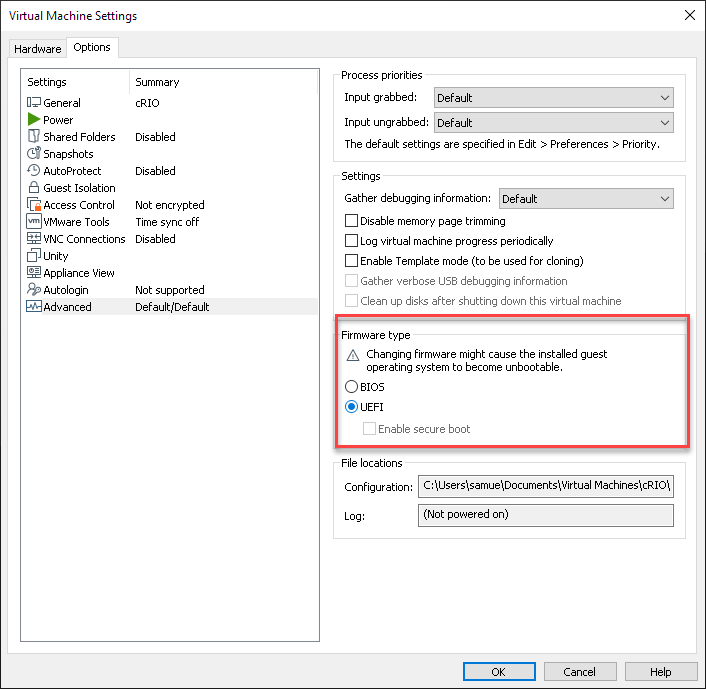
There’s 2 more settings we need to edit first. Open up the Virtual Machine Settings. Under the options tab, select advanced and make sure that the firmware type is set to UEFI. Then under the hardware tab select USB and enable USB 3.0 or 3.1 support. Also check the Show all USB input devices. You’ll need that for an external keyboard.


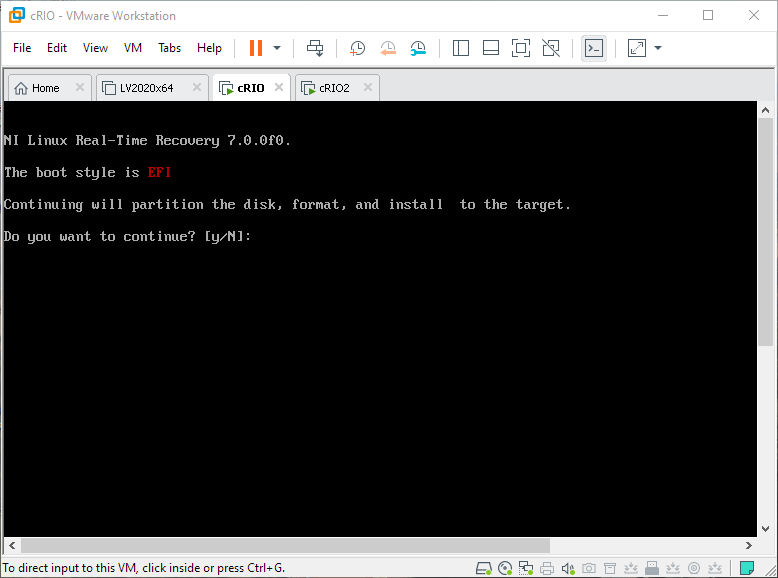
Booting
On the first boot, you will see a screen like the one below. If you don’t, double-check all the VM settings. Your keyboard will likely not work. Just plug in a separate USB keyboard and connect it to the VM. Type y and then it will do its thing and you should see a success screen. Just reboot at that point and you are done. When it comes up again you should see a login screen. You can log in with admin and no password (which is the default). ifconfig will give you the IP address, which may come in handy if it doesn’t automatically show up in MAX.
Changing cRIO Model
Your Virtual cRIO should now show up in MAX. If not, you may have to search for it in MAX. Also double-check your VMs network adaptor settings. By default, your virtual cRIO shows up as a 9030. You can change that. To do that you need to access the CLI. You can do that through the VMware console or by enabling ssh in MAX and then sshing in.
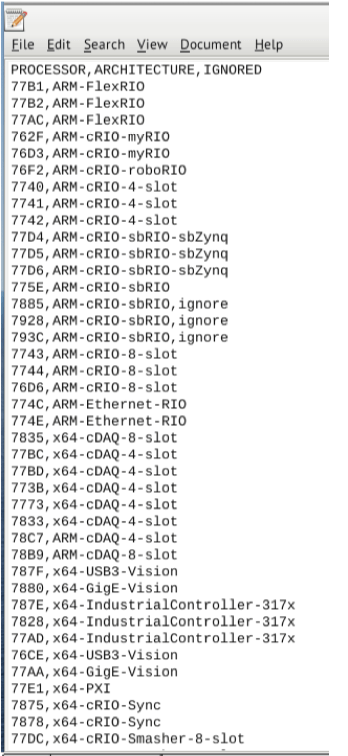
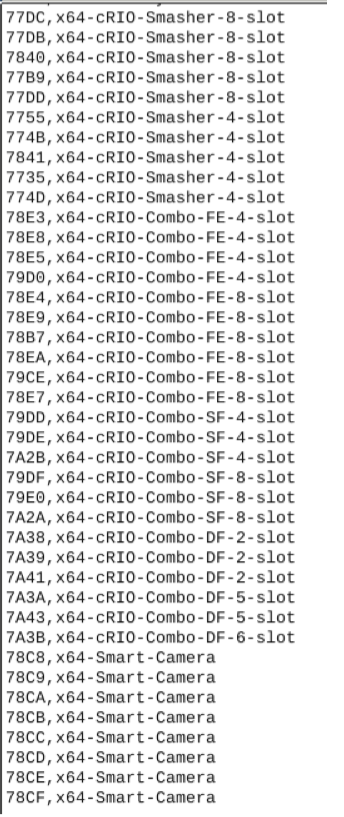
The file to edit is /boot/grub/grubenv There is a device code entry that can be set to 0x78E3 for a 9040. For other models? Well there used to exist a list on older images. It seems to have disappeared in newer versions. Neil was nice enough to screenshot it for me. Here it is below. You still have to do a little work to correlate the processor and architecture to a specific model number.
Embedded UI
If you are hoping to test the embedded UI, there are a few steps to setting it up. First is to select a model from the above list that supports the embedded UI ( I believe it needs to be an x64). Then via ssh or the VM console, enter
/usr/local/natinst/bin/nirtcfg --set section=SYSTEMSETTINGS,token=ui.enabled,value=True
Then just reboot and you should see some form of desktop like the one below in the VM console.
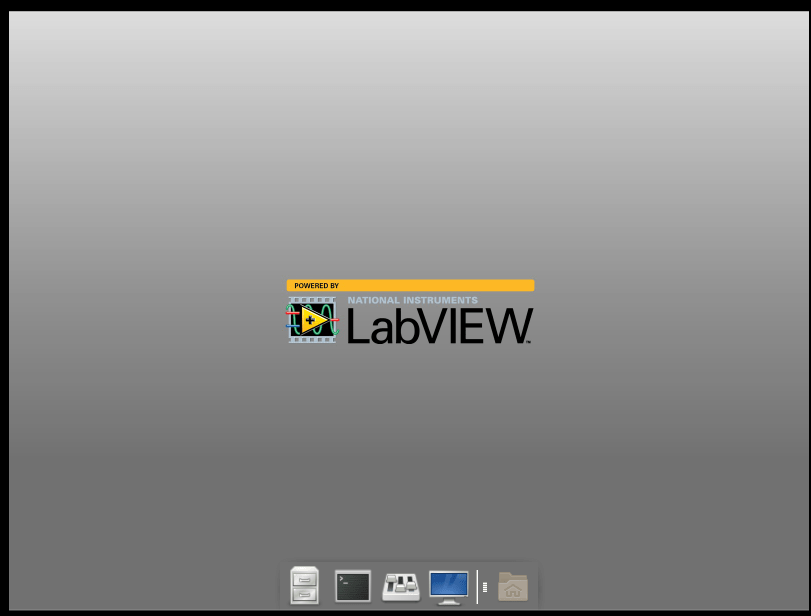
Note when you are in this desktop mode, you are running as lvuser and not as admin. You can just su admin if you need root privileges for some command.
Hope you find that helpful. If you want to talk about how you can use Virtual cRIOs to help with Continuous Integration and testing, let’s schedule a call and talk about it.
