Getting Started with 3-D Printing

I did a job a few years ago for a mining company. We were building a tester to test soil samples. I was amazed that many of the parts for the tester were 3-d printed. I thought it was pretty cool technology. At the time I thought it could be useful for printing enclosures and mounting brackets, but when I looked at buying one, they were just way too expensive. The ones I was looking at were a couple grand.
It’s cheaper than you think
Fast-forward a couple years and I was talking to Allen at GDevCon and he mentioned he had bought a 3-d printer. My jaw dropped when he told me it was less than $250. I figured I could justify that amount, so I picked up an Ender 3 Pro off Amazon.

Out of the Box Experience
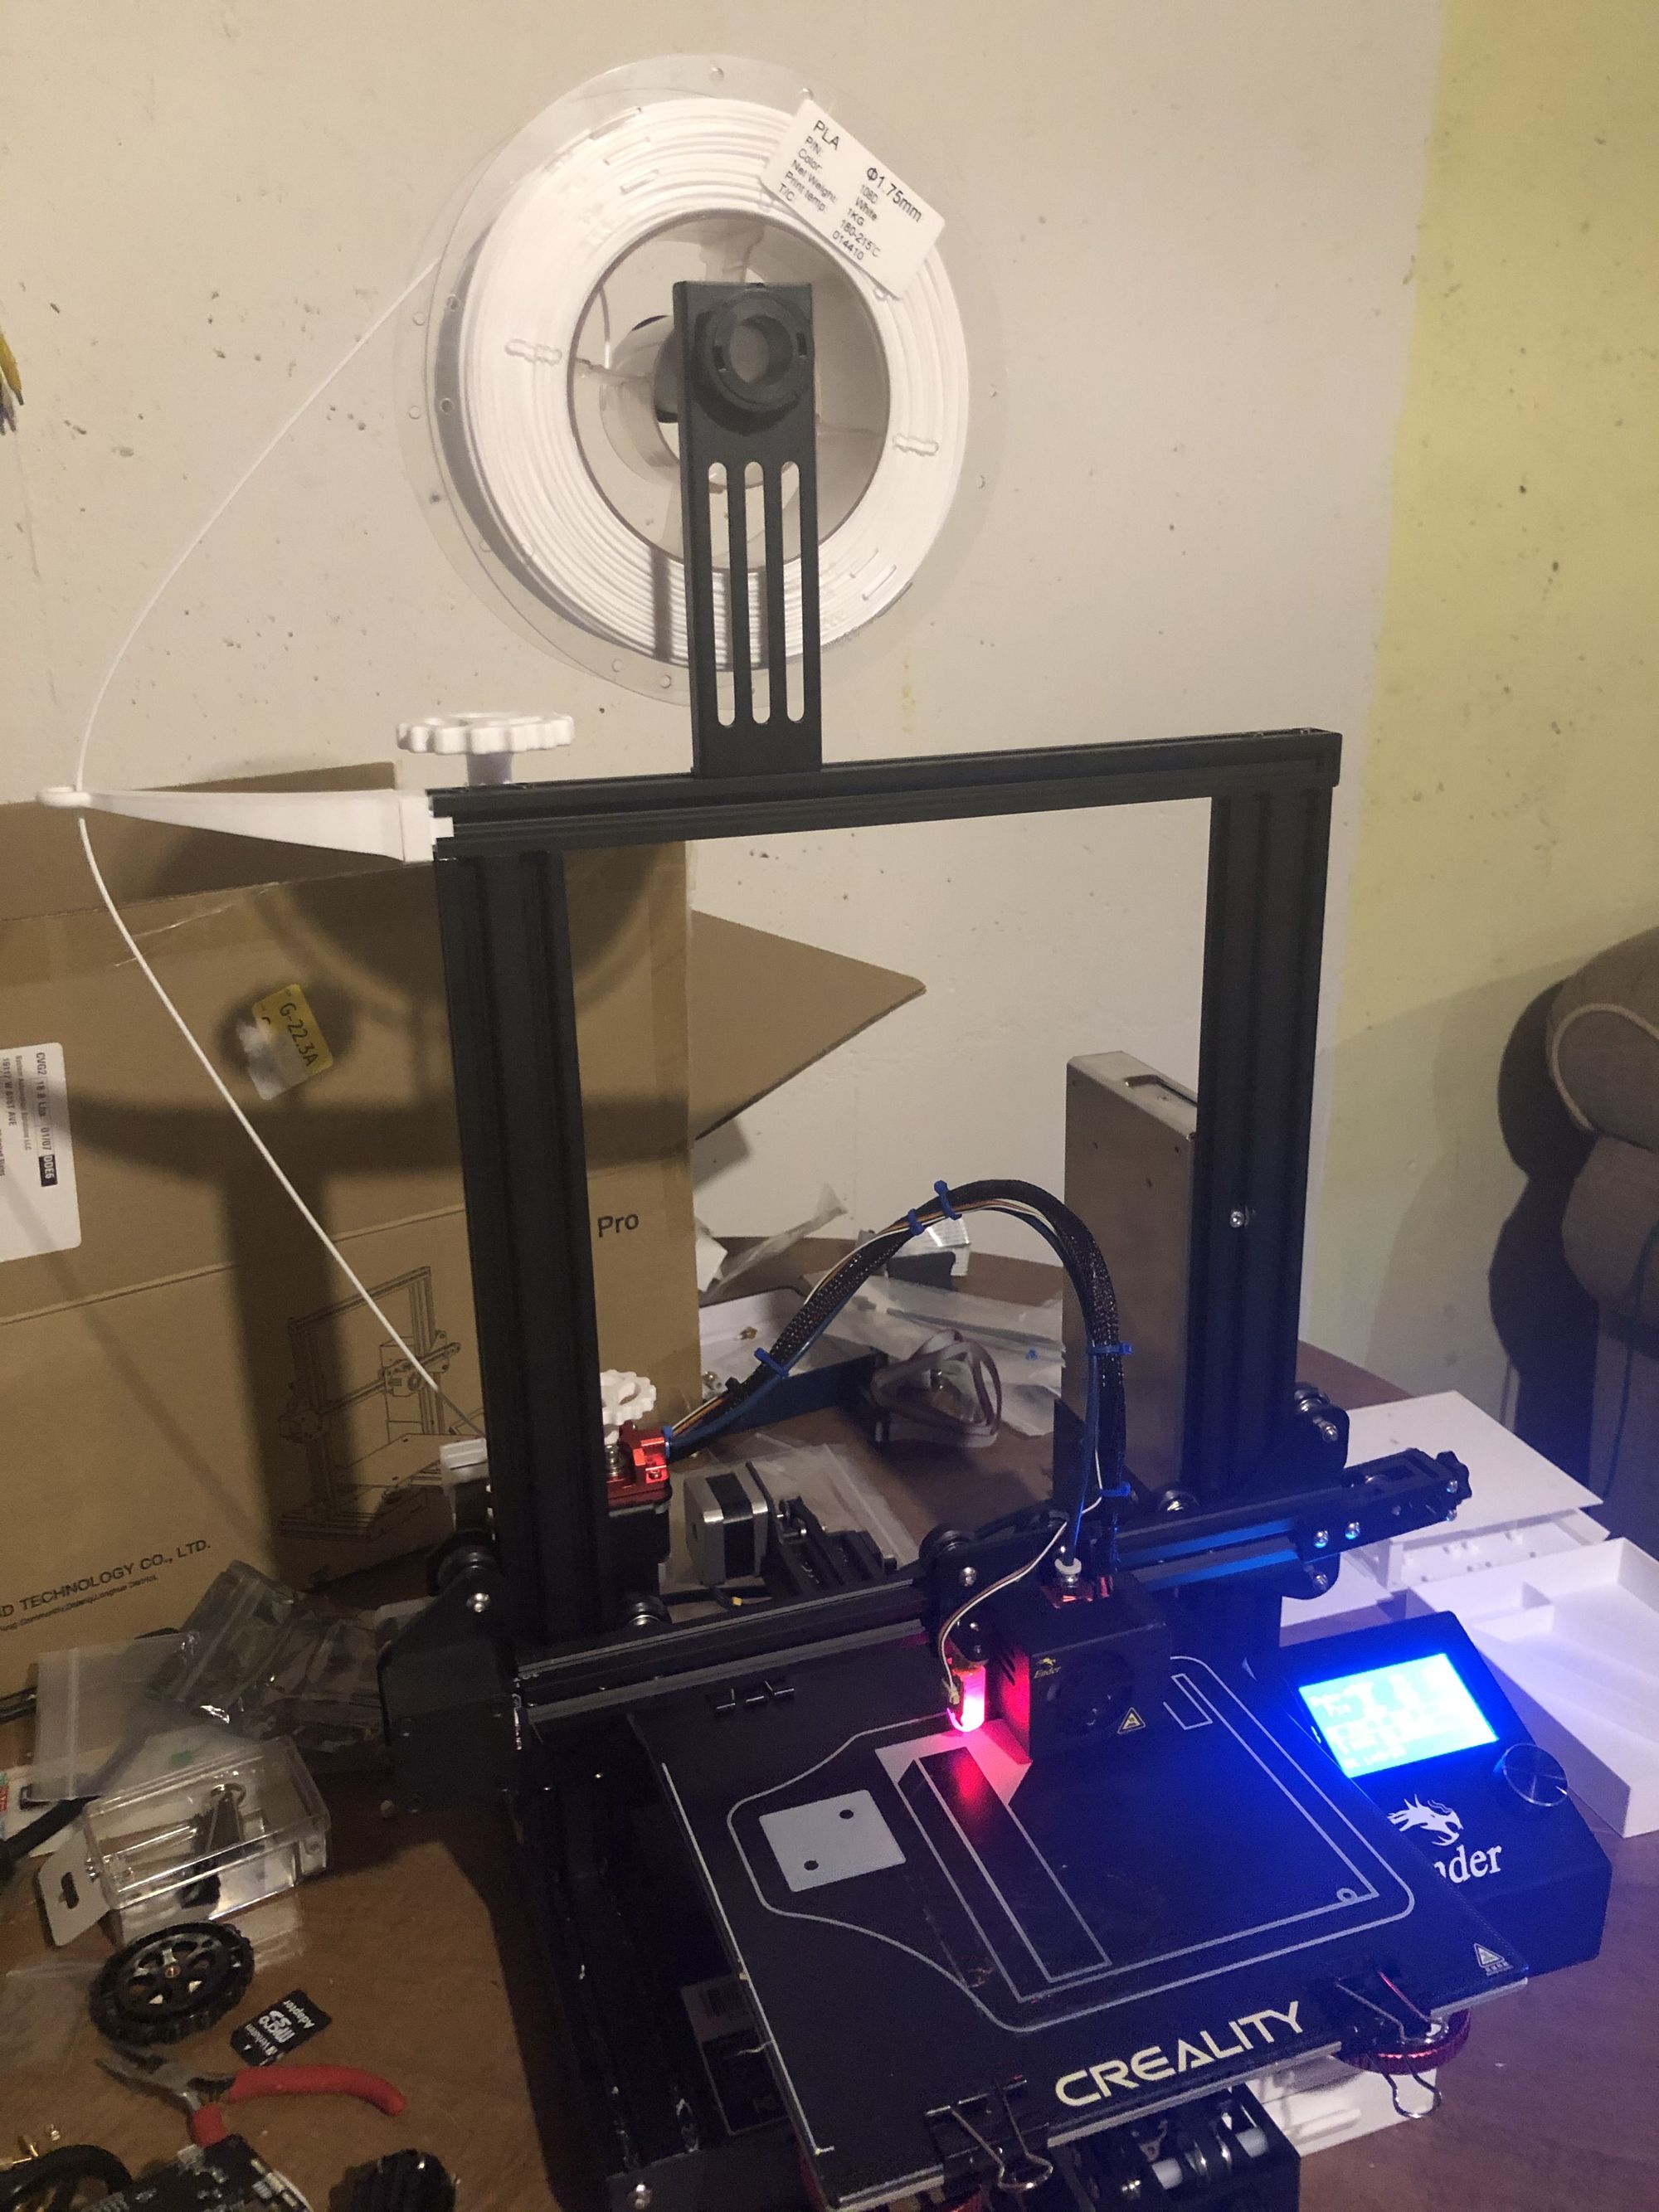
It was fairly straightforward to put together. There are a lot of parts and the instructions are in Chinese, but luckily it has lots of good pictures. As soon as you get it together, you will need to level the bed (which is interesting the first time). You can do it manually without printing anything or you can let the printer help you. I used this model and it worked well at least at first (I ended up figuring out eventually that my bed was warped – more on that later). There are lots of YouTube videos to help you out with this.
The printer comes with an SD card with some models on it and a small roll of filament. You can just put the SD card in the printer and select print and it should work. It all seemed to work pretty easily right out of the box, once I got the bed leveling right.
In the beginning, my overall experience was that the ender 3 was a bit finnicky. The initial filament they gavve me printed well right out of the box with the default settings, but when I ran out and bought ad different brand, I had to play around with the temps to get it to work alright. I also had issues with the bed-leveling, sometimes it would work and I could get a good first layer, and sometimes not.
Basic Skills
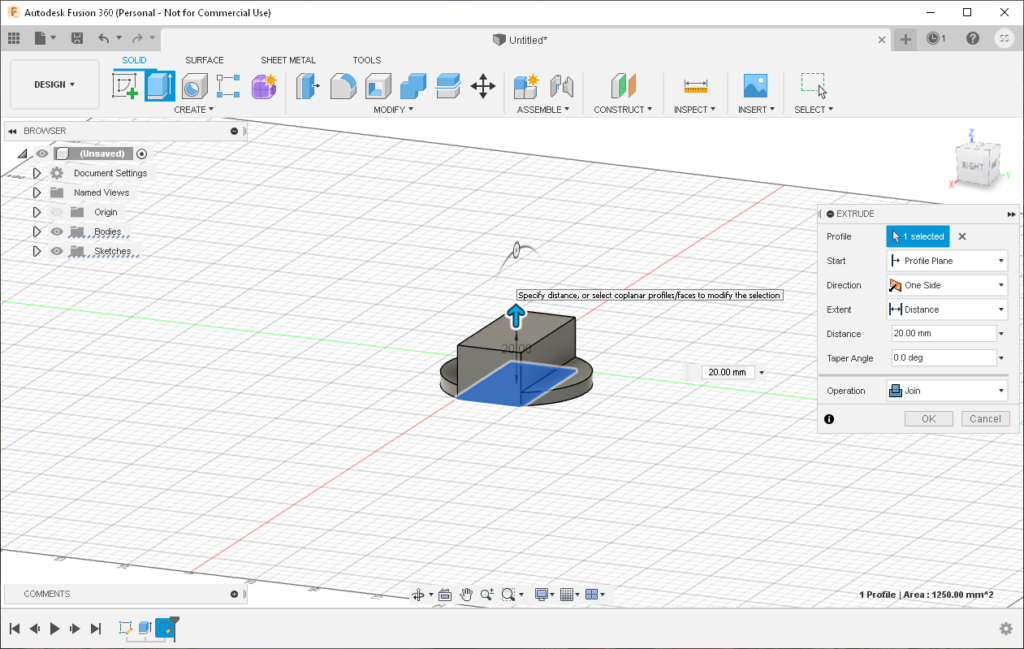
If you are new to 3-d printing, there are basically 2 skills involved. The first skill is 3-D modeling. This involves designing parts in Fusion360 (free for non-commercial use) or something similar and exporting the results as an STL file. The second skill is in the 3-D printing itself. It involves picking the right filament and the right printer settings, making sure the bed is level, etc.
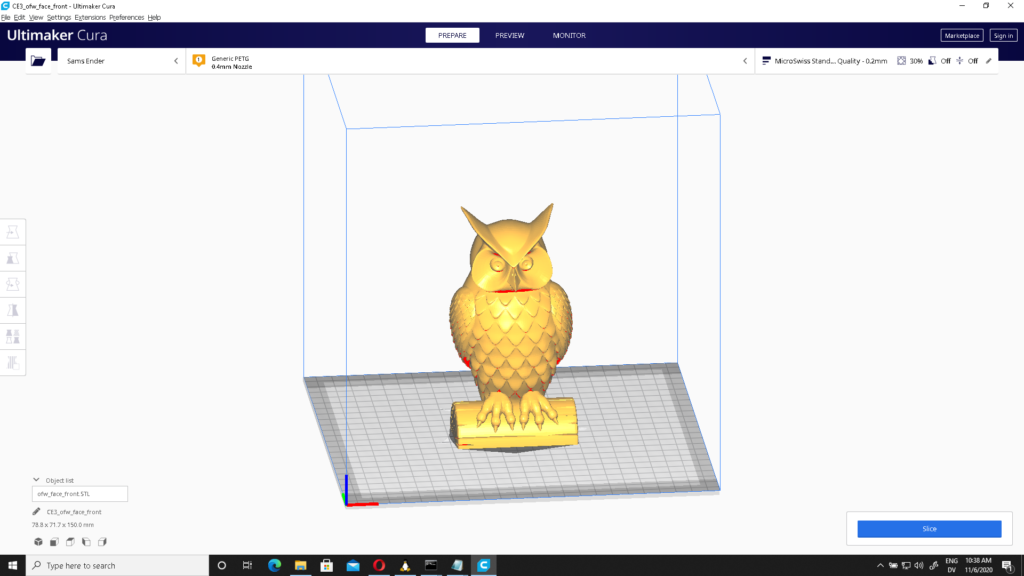
The good news is you don’t have to master Fusion 360 to use a 3-d printer. Thingiverse has plenty of useful models for free. You can download the STL files and load them into a slicer such as Cura. In Cura you set a bunch of parameters for the printer (for starters, the default Ender 3 Pro profile works pretty well) and then Cura will break the model into horizontal layers and create GCode for you. The GCode is the actual instructions for your printer. You then transfer that to the printer and tell it to run the GCode.
Some Basic Upgrades
One of the reasons, the Ender 3 Pro is so cheap, is that it doesn’t come with a lot of frills. They give you the bare minimum to get started printing things and figure that you can either print or buy any accessories you might want. A quick Google search will reveal a lot of accessories. The Ender is probably one of the most customizable printers out there.
I printed a few useful accessories for the printer. First I printed a filament guide to keep a good bend in the filament. I also printed a cover for the cct board behind the LCD screen. Then I printed some drag chains for the wires in the back since they kept getting caught on things. There are a lot of other add-ons, but those are the most common. If you search on YouTube there are tons of videos with instructions. Teaching Tech is probably the best.
I was also having trouble getting a consistent first layer so I upgraded to the BLTouch (I highly recommend it – really convenient). Unfortunately, that didn’t entirely solve my problem since my bed was warped. So to fix that I got a glass bed. The combination of the glass bed and the BLT Touch is really nice. It cost about $100 for both, but it is worth it. I set the z offset once and I am good for a long time.
I made two other upgrades to help improve printing quality. The stock Bowden tube can be replaced with a Capricorn tube which supposedly can go to higher temperatures and has tighter tolerances. I also replaced the stock plastic extruder with an all-metal one. Both of these upgrades were about $10 each.
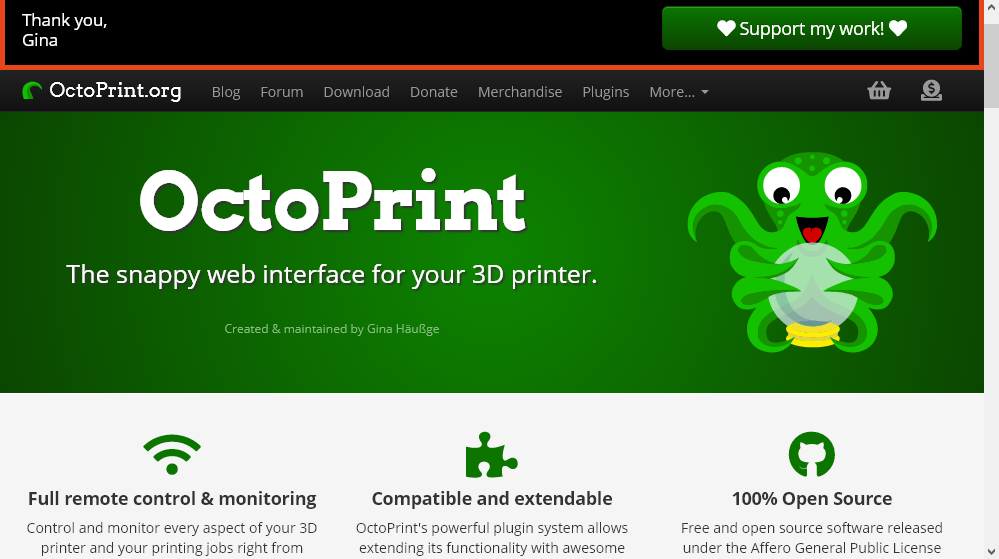
The other upgrade you will likely want is to connect the printer using a USB cable to a raspberry pi running Octoprint. This allows you to access the printer over the network instead of transferring files via the micro SD card. You can also connect Cura to Octoprint, so you print directly from Cura.
Results
Now with all these upgrades, the printer works very reliably. Now I just need to find something useful to print, rather than more parts for the printer. Maybe this.
