Development Server Setup

Software Developers often use a development server which runs version control and bug tracking software. Version control systems, such as Subversion, keep copies of each iteration of the source code. This allows developers to roll back changes if need be to fix bugs or broken code. Bug tracking software, such as Bugzilla, allows developers to input bugs and feature requests. Then these tasks are assigned to specific developers and the progress can be tracked. The Development Server acts like a central toolbox that the developers and project managers have access to. If you are developing code and you are not using version control or bugtracking software, you should be. As you’ll see in the post there is a free and easy way to setup a development server to provide these services.
Background
For several years I did software development work for a large company. One nice thing about working in such a large company is that the company set up and maintained a Subversion (SVN) server and a Bugzilla server, which I was able to use and I didn’t really have to worry too much about setting up or maintaining the servers.
So when I started my own company, one of my first tasks was to build a development server of my own. This was a little outside my realm of expertise. By formal education I am an electrical engineer. By on the job training I became an expert in LabVIEW, but I was not (at least at the beginning of this project) very knowledgeable about servers and how to set them up. Now, I needed a development server that would meet my needs but be easy for me to setup and maintain.
Goal
The goal of this post is to highlight the solution that I used for my development server. It took me a little while to find a good solution and fine-tune it for my needs. I want to document that solution so that perhaps others can benefit. I will only be hitting the highlights. While this is not necessarily a step-by-step guide, if you are technically inclined and know how to use google, it should be pretty easy to repeat to get your own development server up and running. If you are already familiar with linux and apache web server, you could probably do it in an afternoon. If not, plan for a few days.
Requirements
My key requirements for a development server were that it needed to
- Be cheap – In the case of my final solution I found a free solution.
- Be easy to setup – I didn’t want to spend too much time learning linux commands and doing tons of setup and configuration.
- Include both version control and bug tracking – My final solution includes both SVN and Redmine
- Not require special hardware – I was able to run my solution on an old MacBook I had laying around.
- Be reasonably secure – My solution uses https to encode network traffic.
TurnKey Linux
While doing some research I stumbled upon TurnKey Linux . They offer a variety of standalone servers, which they call appliances. Each of these appliances is basically a very lightweight linux server (based off of Debian linux) with either a single program or suite of programs designed to work together, already installed and preconfigured. All of the software is open-source, so it is free. It promised to provide a free ready to use development server right out of the box, which really appealed to me.
TurnKey offers a whole variety of appliances. There are several issue tracking and version control offerings. For my development server, I chose to use an appliance that included both Redmine, for bug tracking, and SVN, for version control. Both are free. And they can be integrated together, such that specific changes in the source code can be tied to a specific bug or feature request.
Virtualbox
TurnKey has several options for how to deploy their appliances. The option I chose was to download a virtual machine image and run that using VirtualBox . This would let me use an old MacBook I had laying around as my Development Server. Other options include: running it on bare metal, or running it on a cloud server, such as those offered by Amazon. VirtualBox is free to download and runs on most OS. The appliance itself doesn’t require a lot of RAM or processor speed since it is a very lightweight linux distribution. It should run on just about any old computer you have laying around.
Getting started
In my case, the first step to setting up my development server, was to download and install a copy of Virtual Box from their website. Then I downloaded the Virtual Machine Image from TurnKey. Double clicking on the Virtual Machine image will load it in Virtual Box. Next, a dialog comes up asking about some settings for CPU cores, RAM, virtual harddrive size, etc. You can change them if you want, but the defaults worked fine for me.
Initial setup
Once the virtual machine is loaded in virtualbox, you can just double click to run it. Soon the OS will load. Then you will be prompted to set some passwords for the root account, redmine admin, MySQL access, etc. Use strong passwords and write them down somewhere for now. Next it asks about TKLBAM which is an automatic backup service to Amazon cloud. Use it if you want. You can also configure it later. Then it will ask about applying updates. I suggest you do so you have the latest security patches. After that, it may reboot. When all is said and done, your development server is now up and running. You should end up with a screen like the following:

Web shell and Webmin
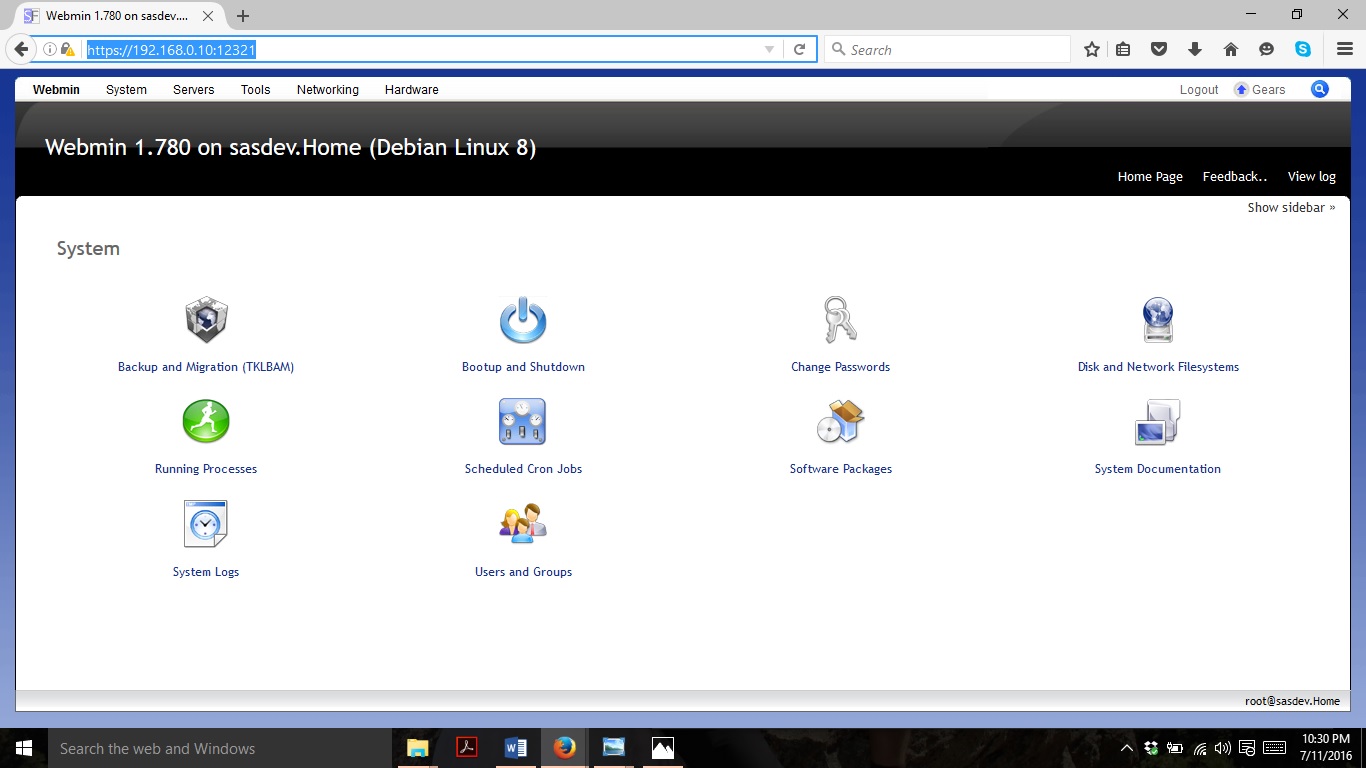
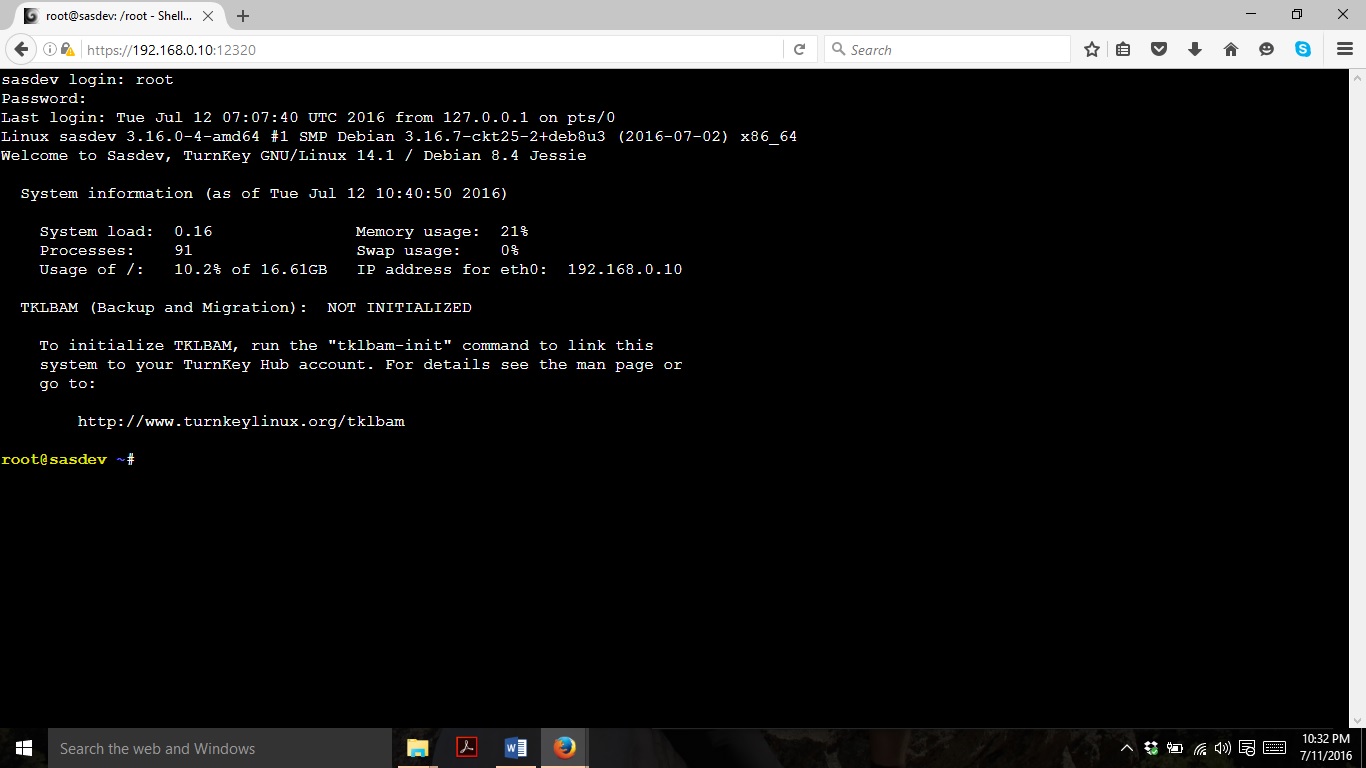
Once you get to the above screen, you can select quit and get to a Linux prompt. However you can just minimize the Virtualbox window and move to a web browser. Before moving on, make sure to write down the IP address and ports shown. Now, you can do the rest of the setup for your development server over the network. TurnKey comes with 2 powerful tools for network configuration built in, Web Shell and Webmin (and it also comes with ssh if you wish to use it). Web Shell gives you a shell interface through a web browser, and Webmin provides a GUI interface through a web-browser. Both are very powerful and very useful.
Testing
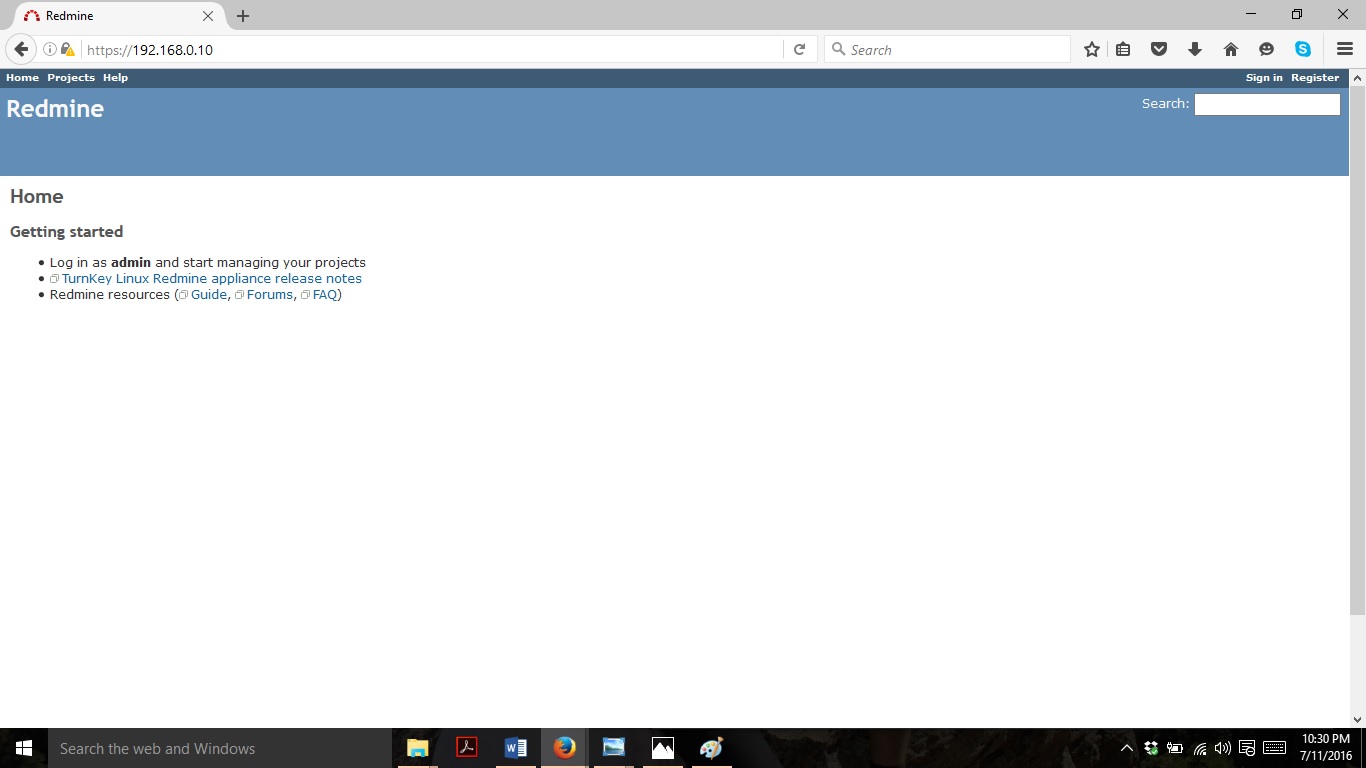
The first thing I would suggest is simply typing the local IP address of your development server into a webbrowser using https. You will get an SSL cert error, because the cert is self-signed. For now just add it as an exception. You can fix that later if you want to. The browser should come up with a redmine window similar to below. The next thing is to login to the webmin accounts and webshell accounts just to make sure they work and to see what is there. You should see something similar to below.
Setting up svn for http access
If you look at the svn documentation there are several ways to access the repository. This appliance comes with svn configured for svn:// protocol access. If you want to simply use that, you can skip the next couple sections. I prefer https access. It’s secure and https goes through most firewalls. Turnkey does not come with a webmin module installed for svn, so you’ll have to configure that using the Web Shell or ssh. To begin setting up svn web access plug the Web Shell address of your development server into a webbrowser and login as root.
Apache Basics
Turnkey already has apache and the apache svn modules installed, so you just have to do a few things to get http (and https) access set up. I suggest you look at the SVN documentation and the Apache webserver documentation. Particularly pay attention to the location of the apache config files on Debian (TurnKey is based on the Debian flavor of linux). The config file locations are different and if you follow the normal instructions you find on the web, it will mess you up.
Apache Setup
The first thing is to use nano to edit /etc/apache2/mods-available/dav_svn.conf All of the entries you need are already there, they are just commented out. Uncomment them and you should be good. The file is well documented and it should be obvious which lines need to be uncommented. Next, make sure the paths are right. The repository is at /srv/repos/svn. Before moving on, note the location of the password file. Next, save dav_svn.conf. Then load the dav_svn module using “a2enmod dav_svn” and restart apache using “/etc/init.d/apache2 restart”
Setting up SVN passwords
This step depends on if you used the Require valid-user option in the dav_svn.conf file. If so, now you need to use the htpasswd utility to create the password file pointed to in dav_svn.conf If you don’t know how to use that utility, just google it. It’s pretty straightforward.
Permissions
Next, you need to change the permission and ownership of the /srv/repos/svn directory and subdirectories to the user running apache. In the case of Debian, this is www-data. First use “chown -R www-data:www-data /srv/repos/svn” to change the ownership. Then use “chmod -R 755 /srv/repos/svn” to change the permissions. The -R is for recursive.
SSL
One nice thing about this configuration of turnkey is that ssl will automatically work with svn once it is configured as above. To force ssl, I went into /etc/apache2/sites-available/redmine.conf and added a location directive with SSLRequireSSL. <Location /> SSLRequireSSL </Location> This requires using https instead of http to access redmine and svn. In order for it to take effect you have to force appache to reload the config files using “/etc/init.d/apache2 force-reload”. Now, if you use http, you will get a forbidden error.
Testing and Troubleshooting
Now, to test everything, go to a web browser and type in “https://serverip/svn/helloworld” Conveniently Helloworld is a preloaded svn repository. Once you enter your username and password, you should be able to browse it. If not, check the apache log files located at /var/log/apache2. I ran into a few problems and the logs (and google) were very helpful.
The last test is to connect to the development server from the machine where you write your code. Use your favorite svn client (I like tortoisesvn), or the command line client to check out the helloworld repository. Make sure you can edit files and check them back in.
Next Steps
The next step is to create a new SVN repository. If you don’t know how to do this, just google it. Be careful with permissions, you may have to reset them after you create it. Then add a new project in Redmine and you are ready to go. The best part is that SVN, Redmine, Apache webserver, and the Linux shell are all well documented on the web. Soon you should have you development server up and running.
