Caraya Review

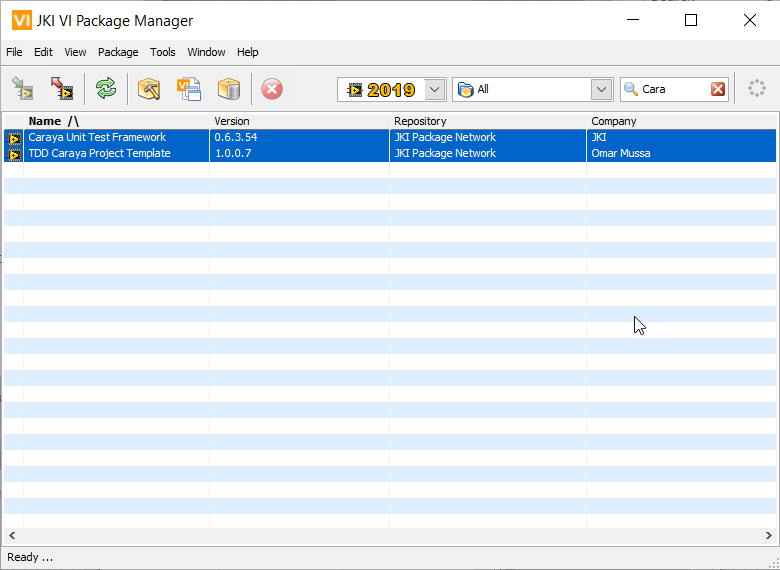
Caraya is a popular Unit Testing solution from JKI. Compared to JKI VI Tester, Caraya seems to be newer and better supported. In fact while conducting this review I found a small bug. I reported it and it was fixed within 24 hours.
The Caraya paradigm is different from the xUnit paradigm. It is based off of Assertions. The easiest way to understand it is to look through the examples.
Installing Caraya
Examples
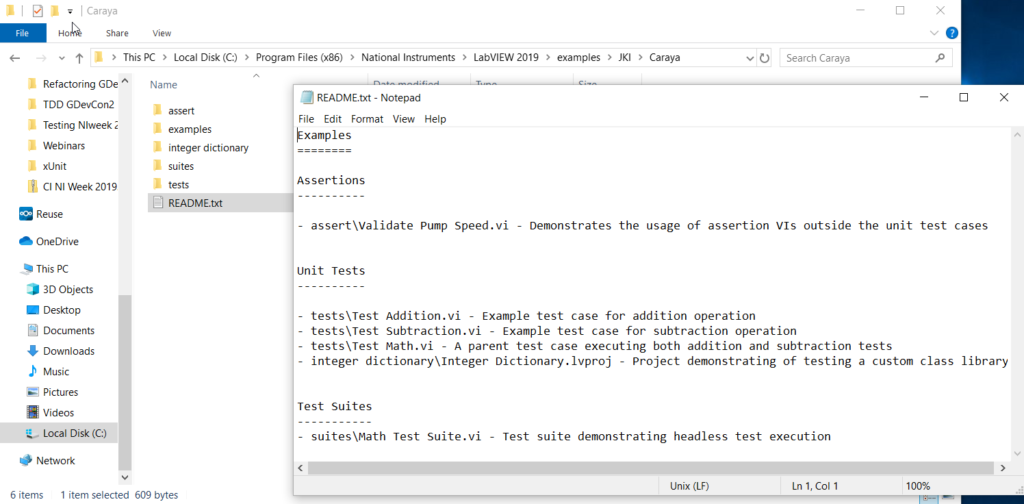
Caraya comes with a bunch of examples. They are in the <LabVIEW>\Examples\JKI\Caraya folder. There is a readme which explains each of the examples.
Assertions
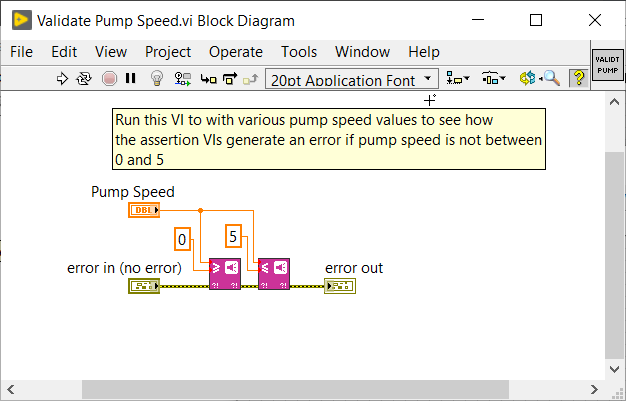
The first part to understanding Caraya is understanding assertions. Assertions come from text based programming. Many text based languages include assertions. Assertions are meant to be a part of your running production code. They are meant to catch errors in programming logic that put the system into an invalid state. This is different than typcial errors caused by the user doing something they shouldn’t or hardware malfunctioning. As an example if you were writing software for a traffic light, you might have an assertion that at least 1 direction (E-W,N-S) must have a red light at any given time.
In adddtion to acting as a unit testing tool, Caraya can be used as an assertion tool to detect invalid states of the software at runtime. in that way it is unique from the other unit testing solutions.

Simple Tests
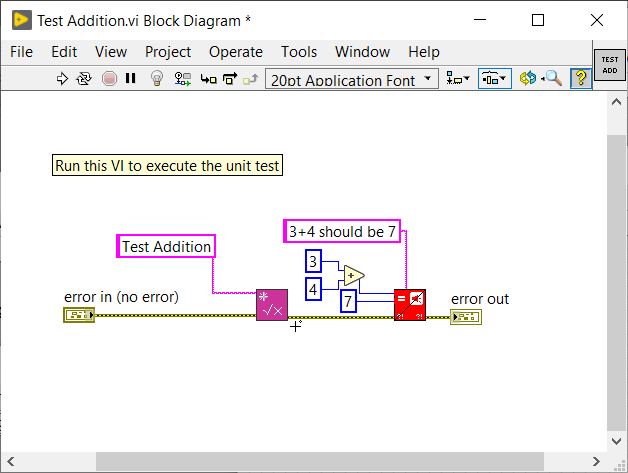
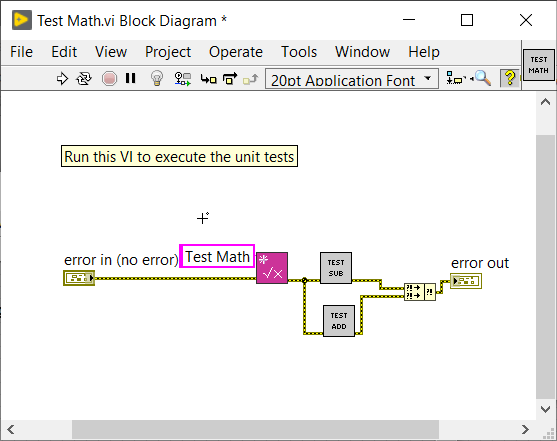
In Caraya unit tests are built upon assertions. You call the vi you want to test with known inputs and make an assertion based on the output. First though, you must call Define Test.vi This will cause the Caray GUI to display when you run the test. You can name your test here or leave that input blank and Caraya will pick up the name of the vi. My advice would be to leave that input blank then when you get the Caraya Test Results it’s easy to find the code for a particular test. After you call Define Test.vi you need to call at least 1 assert vi. Behind the scenes each assert VI communicates with the GUI to report Results.

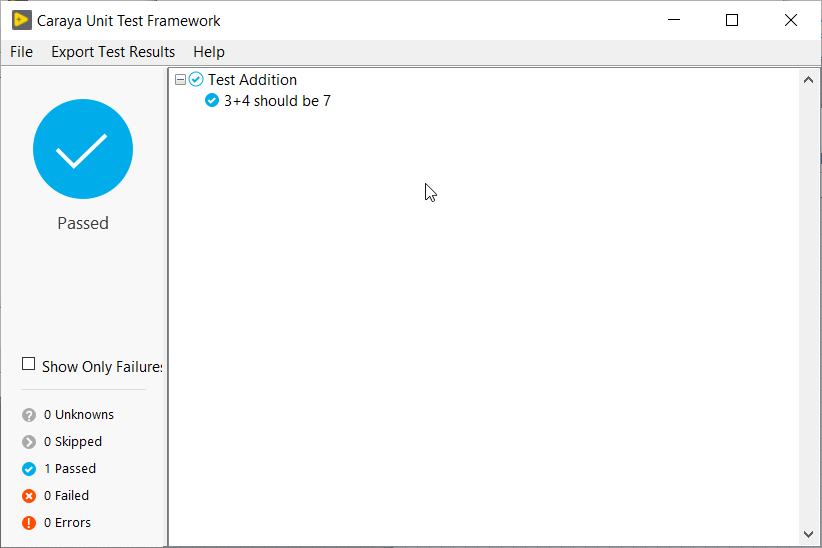
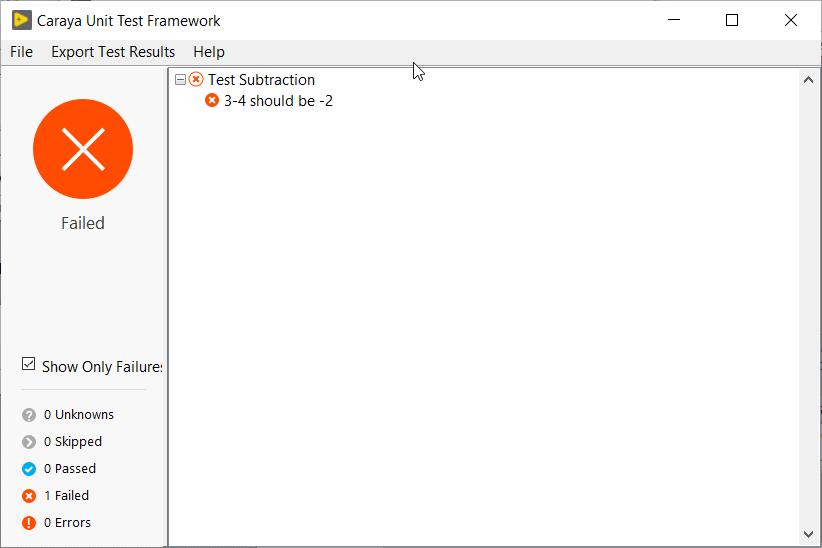
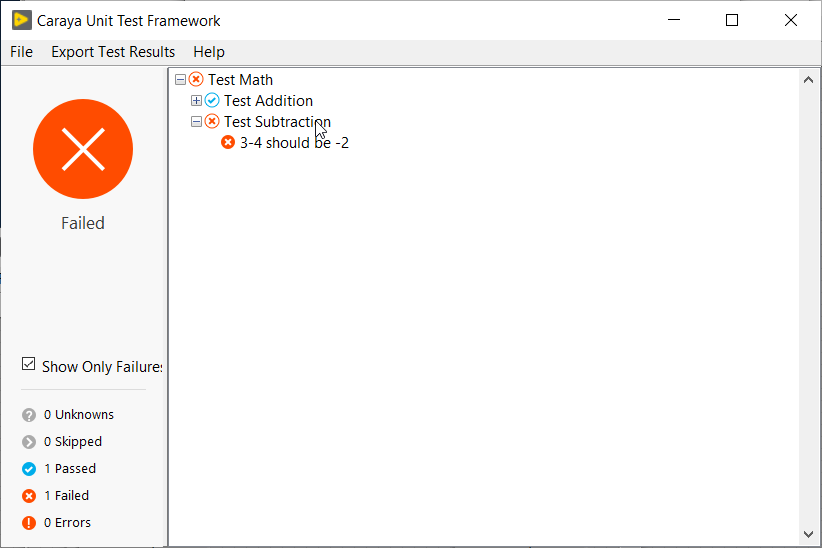
Running Tests
To run a test simply run the test VI. The Caraya GUI will automatically launch and display the results.
Nesting Tests
Tests can easily be nested in Caraya, simply by running them in parallel and throwing a Define Test.vi in front of them.
Programmatic Testing
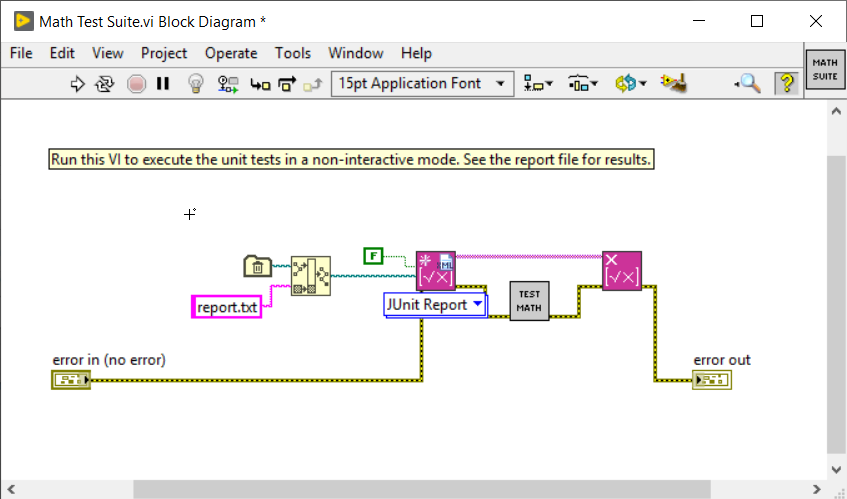
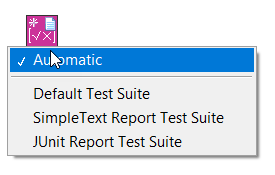
To run Caraya Test automatically, you must drop a Define Test Suite VI before the tests and a Destroy Test Suite VI afterwards. The Define Test Suite VI is polymorphic and lets you choose what type of report you want to produce. It also allows you to specify whether you want the GUI to display or not.