Automating Gitlab Releases


My previous post talked about versioning. I thought I would add to that discussion by talking about how I do releases and how I setup auto-updating in my apps, using the GitLab Package Repository. This a new feature I’ve started adding lately, so it’s still a work in progress, but I am currently using it on a project and it is working very well. Also I owe a huge deal of thanks to Felipe Pinheiro Silva. His blog posts have inspired a lot of this and helped me put some of the pieces together. This post just covers automating the release process. I’ll cover auto-updating in a future post.
Versioning
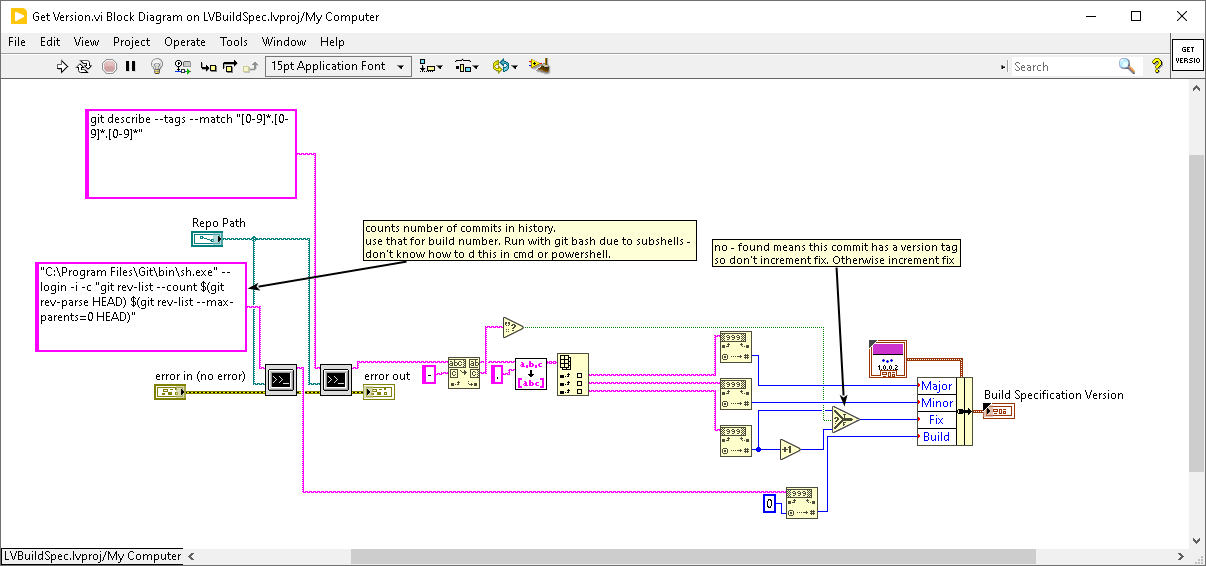
Before attempting this, check out my previous post about versioning. You’ll want to have some sort of auto-versioning system set up. I do the auto-versioning inside my build VIs that I call from G-CLI. It is based on the Git history.
What is a GitLab Release?
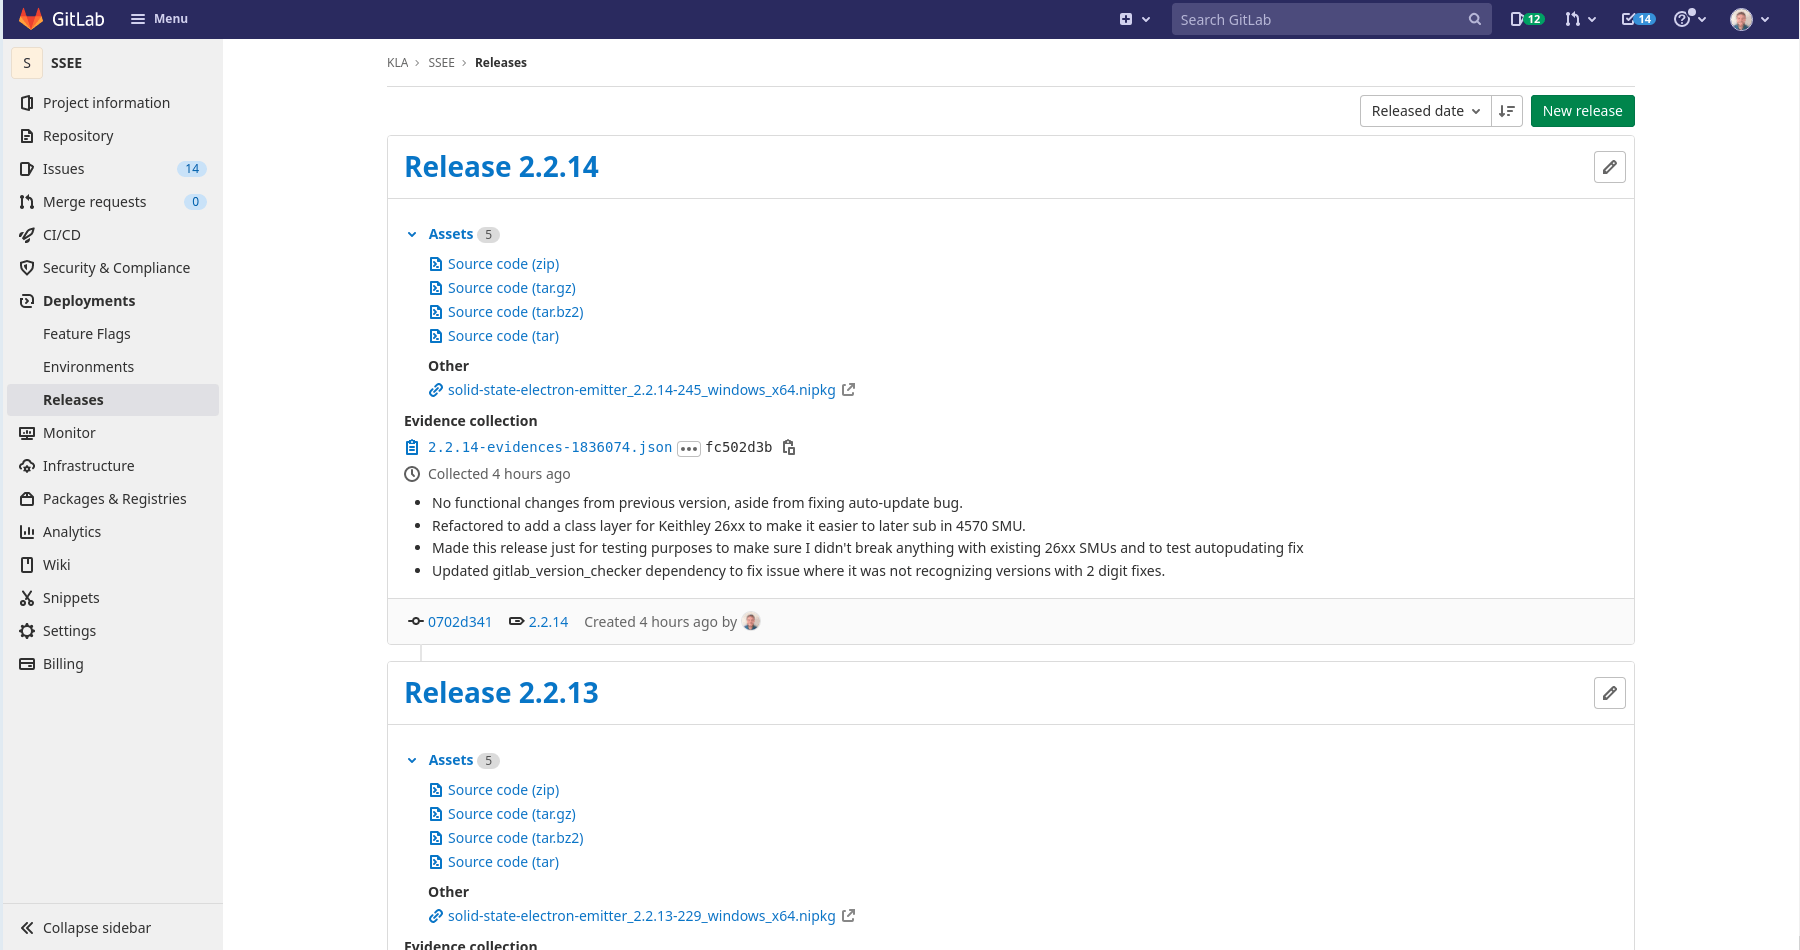
A GitLab Release is a way to signify that your code is officially ready for release. It is associated with a tag in your repository. The release grabs a copy of your source code and some evidence (it’s for traceability). It also gives you a spot to link to a package (under other) and a spot to put your release notes.
Automatically creating GitLab Releases
Automating releases in GitLab is a multistep process. This assumes that you are already somewhat familiar with GitLab CI. If not, try starting here. There are a couple steps, each of which are jobs or stages in your CI pipeline.
Triggering
The first step is triggering a release. Since good practice is to tag every release (so that you can then get the source code that went into a particular release easily), we’ll use the presence of a tag to trigger the release process. So I make my changes and commit everything. Then to start the process, I create a tag using git tag -a -m"Release x.x.x" x.x.x I like to use annotated tags for this so that it is clear who created the tag and when.
NOTE: I only use the first 3 version numbers. See my previous post on versioning.
Then I do a git push --follow-tags This will push only the annotated tags. The presence of an x.x.x tag is what will trigger the jobs associated with releasing code in addition to the normal CI jobs.
Release Notes
I should mention release notes here. You could add the release notes in the annotated tag. However the way I do it, is that the last commit (the one that gets tagged and released) is simply updating a release-notes.txt file that is stored in the repository. Then my CI jobs can use that to populate the release notes anywhere that requires them.
Build Job
In order to make your release, you need to have a build job. This can just be the normal build job . For me, this runs regardless of the tag. I want to make sure my changes haven’t broken the build, regardless of whether it is getting released or not. This job is needed for the release though, because we need the built executable, installer, or package to create the release. The build job must occur before the upload and release jobs. Any files created in the build job will automatically be available in subsequent stages. No need to create artifacts, although you probably want to anyway for debugging purposes.
Upload Job
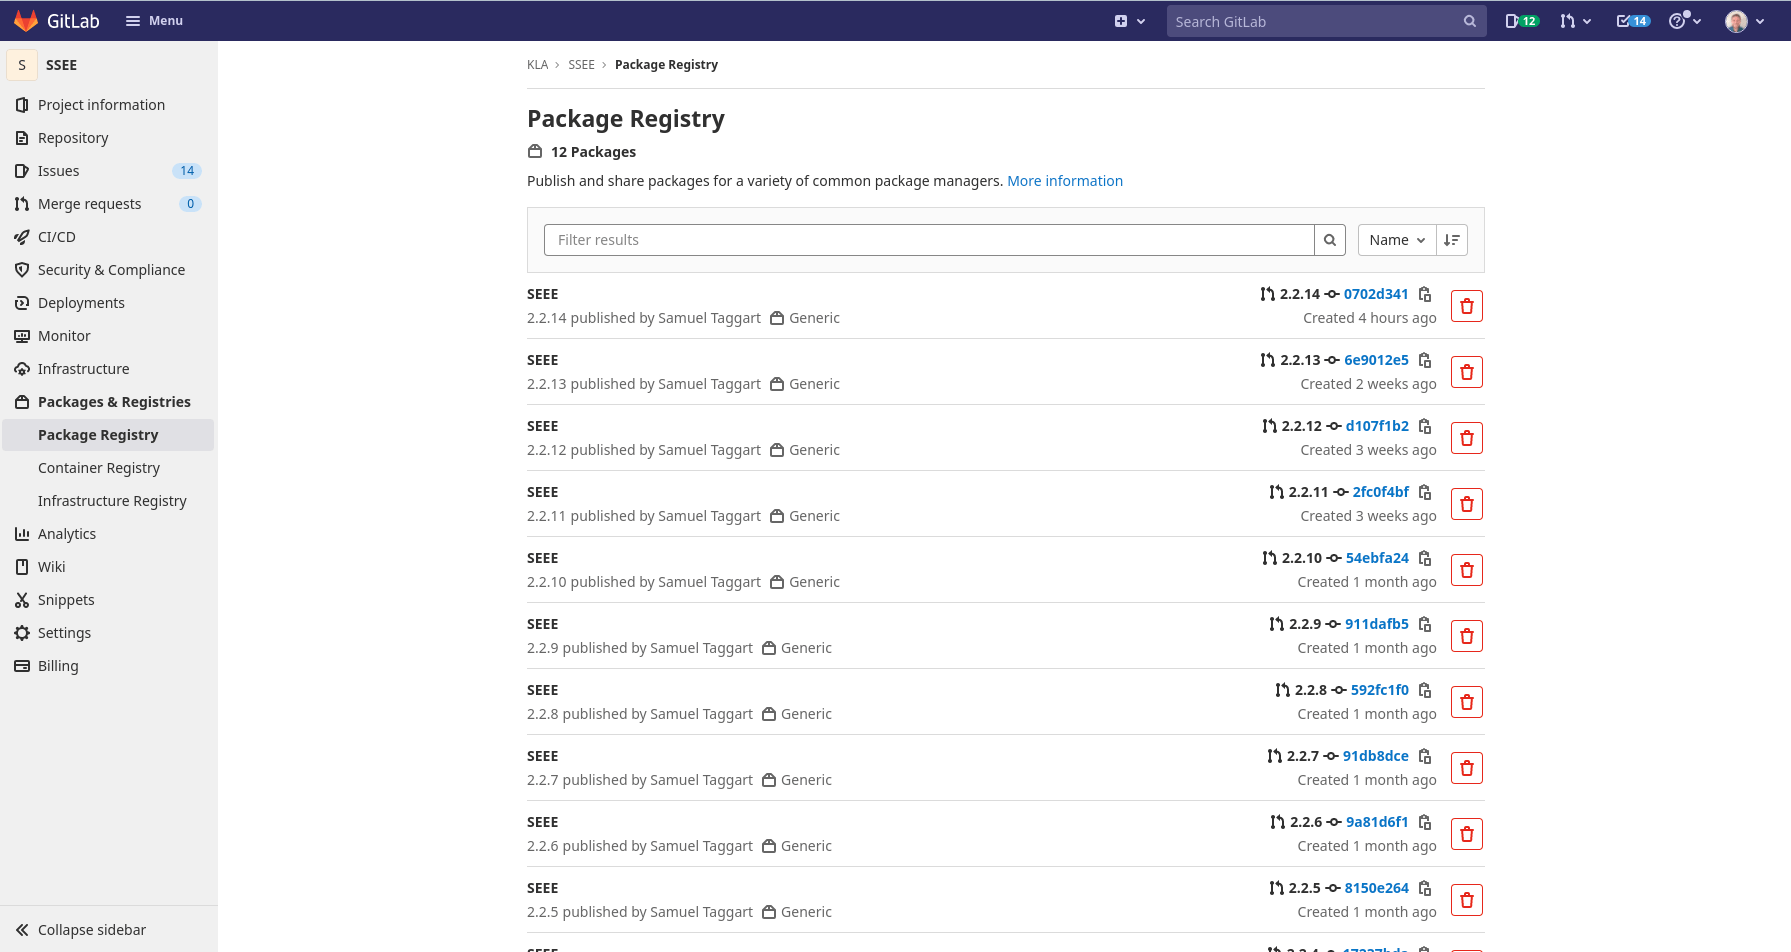
A release allows us add a link to download our package. However we need a place to host that package. You could certainly setup your own webserver, but GitLab has a built-in package manager, so why not use that?
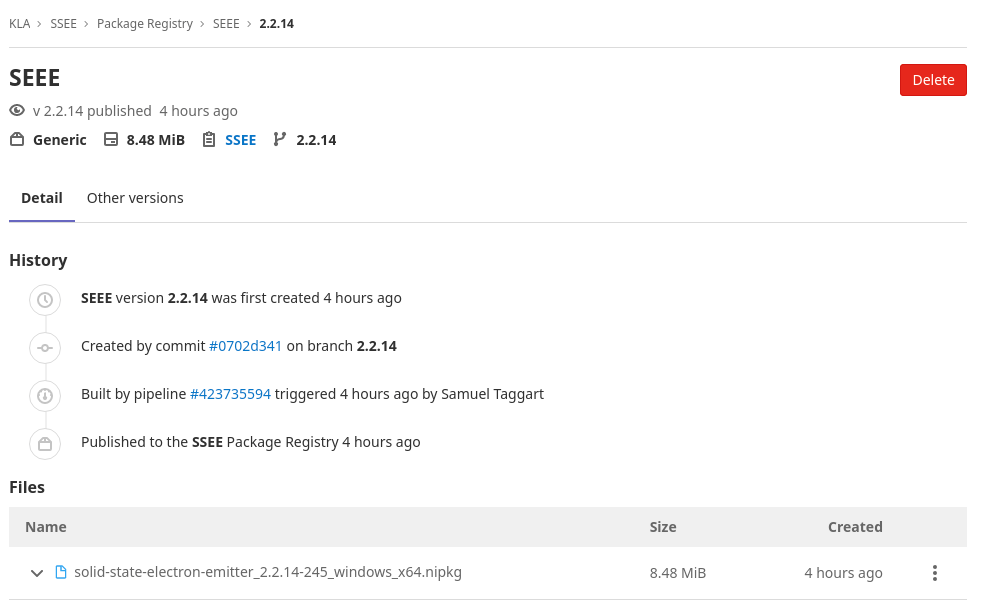
All you need to do the upload job is runner with curl installed. You can easily use a curl docker image. I use a custom one I created that also includes zip in case I want to zip some things up. You just use curl and the GitLab API to upload the file(s) you want to release to GitLab’s built in package repository. In my case it is usually a single package (either an NI Package or a VIPM package).
When you upload a package using curl, it shows up in the GitLab package registry for your project.
Release Job
The release job simply creates a release for the tag. It gives you place to store a link to the package and some release notes. The package is uploaded in the upload step and I get the release notes simply by catting the release-notes.txt file. GitLab maintains a special docker image just for this and has some special syntax.
Technically the upload and release step can occur in parallel (since we already know the link ahead of time – it is a predetermined format), but I’ve had some weird issues where the upload fails for some reason and then I have a release with a dead link. To avoid that I do these serially so that if the upload fails, the release never happens.
Notification
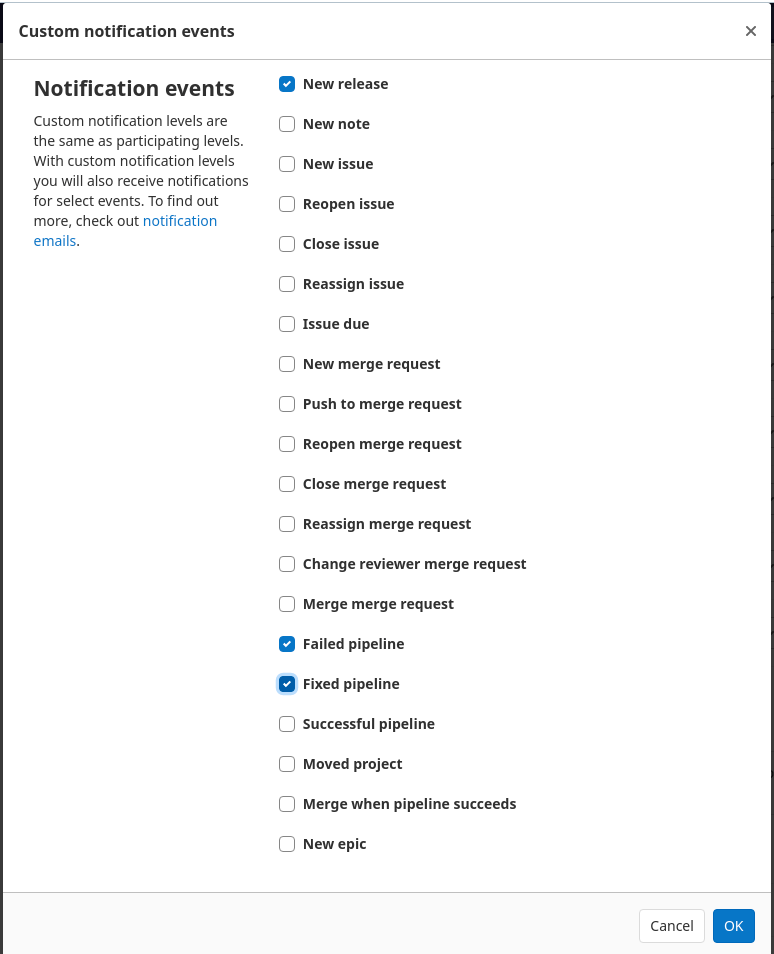
Once you make a release, you need to let people know it is available. You could have a separate notification job that sends an e-mail, but the easy way is to let GitLab do it for you. If the person you want to notify is a member of the project in GitLab, they can subscribe within GitLab’s notification settings to get an e-mail from GitLab when there is a new release.
Something else I also do is use the GitLab API from my program to check for new releases. I’ll make a new post about that shortly.
Sample YAML File
Below is a sample .yaml file showing how to set it all up.
stages:
  - build
  - upload
  - release


build_exe_pkg:
  variables:
    GIT_DEPTH: 0 # this is needed so build numbers calculate correctly. It is based on number of commits in entire repository.
  stage: build
  tags:
    - LV21x64
  script:
    - g-cli --kill LVBuildSpec -- -av -p "Solid-State Electron Emitter.lvproj" -b "SSEE EXE"
    - g-cli --kill LVBuildSpec -- -av -p "Solid-State Electron Emitter.lvproj" -b "SSEE Package"
  artifacts:
    paths:
      - builds/exe
      - builds/package/$(ls -t builds/package | head -1)
    when: always


release_job:
  stage: release
  image: registry.gitlab.com/gitlab-org/release-cli:latest
  rules:
    - if: $CI_COMMIT_TAG =~ /[0-9]*.[0-9]*.[0-9]/                 # Run this job when a tag is created manually
  script:
    - 'echo "creating release"'

  release:
    name: 'Release $CI_COMMIT_TAG'
    description: '$(cat release-notes.txt)'
    tag_name: '$CI_COMMIT_TAG'
    ref: '$CI_COMMIT_TAG'
    assets:
      links:
        - name: '$(ls -t builds/package | head -1)'
          url: '${CI_API_V4_URL}/projects/${CI_PROJECT_ID}/packages/generic/SEEE/${CI_COMMIT_TAG}/$(ls -t builds/package | head -1)'


upload_job:
  stage: upload
  image: registry.gitlab.com/sas_public/curl-jq
  rules:
    - if: $CI_COMMIT_TAG  =~ /[0-9]*.[0-9]*.[0-9]/                  # Run this job when a tag is created manually
  script:
    - 'curl --header "JOB-TOKEN: $CI_JOB_TOKEN" --upload-file "builds/package/$(ls -t builds/package | head -1)"  "${CI_API_V4_URL}/projects/${CI_PROJECT_ID}/packages/generic/SEEE/${CI_COMMIT_TAG}/$(ls -t builds/package | head -1)"'
Let’s walk through it quickly:
- lines 1-4 setup the order of the stages. First we build. Then we upload. Then we do the release. As I mentioned above, in theory you could do the upload and release jobs in parallel in the same stage, but I prefer using seperate stages so they execute in series. That avoids ending up with a release where the link is dead.
- lines 7-20 define the job that builds the executable and then the package.
- lines 8 and 9 tell GitLab to do a full clone for this job so our version number comes out correctly
- line 10 makes sure this job executes during the build stage
- line 11 and 12 ensure this job gets executed on a machine running LabVIEW 2021 64bit
- lines 13-15 are the g-cli commands to build first the executable and then the pacakage. LVBuildSpec is the name of a custom G-CLI command that I built for building LV BuildSpecs.
It has some parameters:- -av specificies automatic versioning, which means it will automatically calculate the version number based on the Git history
- -p is the project file
- -b is the specific build spec within the project to build.
- lines 16-20 tell GitLab to grab the build output and store it on the GitLab server as an artifact. When always is useful so if the build fails, it still grabs the build log.
- lines 23-39 define the release job.
- line 25 tells GitLab to run the job on a Docker image. This image is provided by GitLab and has all the tools preinstalled to create releases
- line 26-27 cause the release job to only run when the commit tag is of the correct form: ie x.x.x
- lines 31-39 define the release and what goes into it. In line 30 I take a text file with the release notes and use that as the description. In lines 36-39 I add a link to the package that got uploaded in the upload step.
$(ls -t builds/package | head -1)simply refers to the most recent file in the builds/package directory. I reference it this way because then I don’t care what the exact filename is.
- lines 42-48 define the upload job.
- It runs in a Docker Image. You really just need an image with curl. In this case I am using a custom image I created which also includes zip, in case I need to zip anything up
- line 48 is the key to this job and it is a simple curl command. Note the authentication is provided by the
$CI_JOB_TOKENenvironment variable. This is unique to each job and set by GitLab. Also note the format for the url.
Finding a System that works for you
What I’ve just shown you is what a typical CI Release Pipeline looks like for me. I’m not claiming it is the best way, just what works for me. I am also always experimenting and finding new and better ways of doing things. If you have suggestions on how to improve it, please let me know.
Automating the release is the first step to setting up an auto-updating system. This can make it very quick and easy to get new code to your customers. Once it is all working, making a release is very simple:
- make your changes
- update your release notes
- tag the commit
- push the tag
- CI works its magic and your customer get’s notified that there is a new release and it’s available for them to download and install.
This makes it very easy to do agile development because it makes it very simple to get working code into your customer’s hands quickly.
If simplifying your release process like that sounds like a breath of fresh air, let’s talk. There are a lot of little gotchas that can trip you up. We’ve already worked a lot of them out so we can help you get up and running quickly. Use the button below to schedule a call.
