Compressing KVM Disks for Win10 VMs
If you are using VMs at all, it makes sense to compress them to save disk space. Here's how to do it for KVM with Win10 guests.


As I have been pursuing implementing this: https://docs.gitlab.com/runner/executors/custom_examples/libvirt.html I have had a couple hurdles to overcome. I wrote about a previous one here. The most recent thing I've run into is that this executor method copies the VM Disk for every CI job. I want the whole process to be performant so minimizing the size of the VM Disk is important.
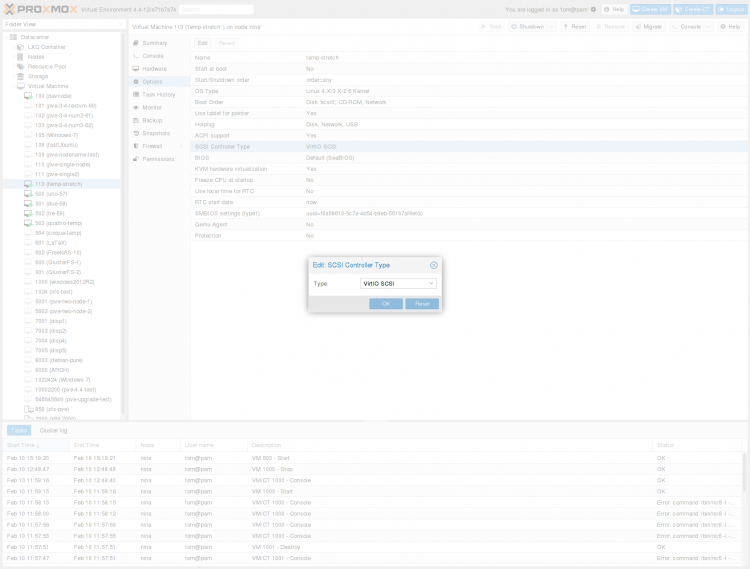
Previously creating VMs (mostly for development) I would set the disk size to 100GB. Most Certainly overkill, but the actual disk footprint on the host is supposed to expand only to what it needs - the keyword is "supposed". I hadn't run out of disk space yet so I hadn't been paying close attention. Well, I noticed that the VM I was going to use for this experiment had a disk footprint in the host of 107GB, even though the disk size was supposed to be capped at 100. I had only Windows, Git, and NIPM, so I certainly wasn't using all that space. Houston we have a problem.
How To Shrink it?
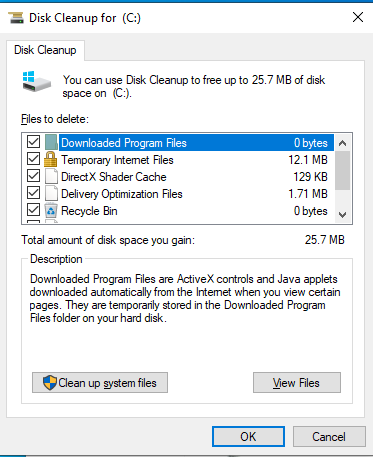
The first thing to do is run Windows Built-in Disk Cleanup. Make sure you click on the "Clean up system files" button. Select Everything and then click ok.
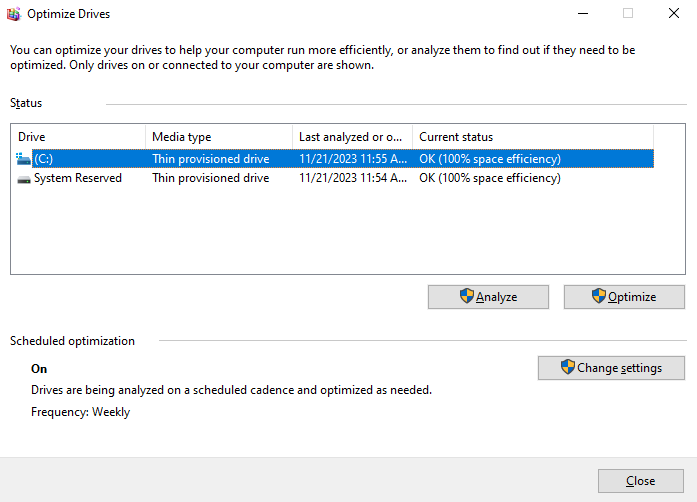
Next, I optimize the Drive using the Built-in Optimize Drives dialog.
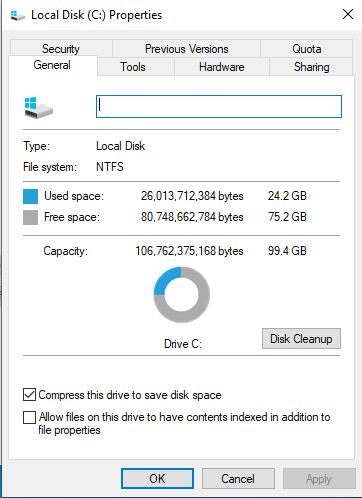
Next, I find the drive in Windows Explorer and right-click on it to get to the properties window. Then I check the compress this drive box and uncheck the allow indexing box.
Next, I download sdelete from here. Then I run it with the -c and -z options like this: ./sdelete -c -z C:\
Note that running sdelete may balloon the size of the virtual disk in the host, but that is ok. The next step will trim it.
The last step requires the VM to be shut down, so shut down the guest, don't just close the GUI. Then issue the following 2 commands. First, it creates a backup and then compresses the file. Launch the VM and make sure it works and then you can delete the backup.
cp image.qcow2 image.qcow2_backup
qemu-img convert -O qcow2 -c image.qcow2_backup image.qcow2
This whole process may take a while, and it is very much worth it. As you can see by the image at the top, I was able to compress the virtual disk down to 10% of the original size.
References